# Museum Card Workings
- published on
Recently1, the finnish digital museum card application (Museokortti) has had a major overhaul. The update was split into an entirely new app! I got a little curious with the update, since it changed the way that users authenticate their museum card. Being an avid museum visitor and programmer, I decided to investigate how this new system works.
# The changes
As far as I understand, the previous authentication flow went as follows:
- You scan a static QR code in the museum reception containing museum metadata
- Your client validates the QR code
- Your client displays a success screen with your photo and museum card number
- The reception worker validates your success screen by comparing the photo to your appearance
- The reception worker and your client log your museum entry to a central database
- The database correlates the two logs together into a single visit
It has been changed to:
- Your client generates a JSON web token based on a secret and formats is as a QR code (this QR code is time-based and expires in a few minutes, after which a new one must be generated)
- The museum reception scans and validates the QR code
- The computer system logs your museum entry to a central database
- Your client receives a log of your museum visit from the database
This flow is in my opinion quite a bit better. Firstly, it minimizes the amount of validation done by your client application and instead delegates validation to trusted machines. This helps ensure the validity of data and museum visits. Secondly, it minimizes the amount of manual validation required from the reception workers, which helps prevent errors and ambiguity in the validation. The new system is also quite a bit smoother and more efficient, requiring fewer steps to get from start to finish. Good work on the UX!
# How does it work?
In terms of technical details, the rotating QR code generated by the client looks something like this: (Note that I’ve edited the image to censor identifying information.2)
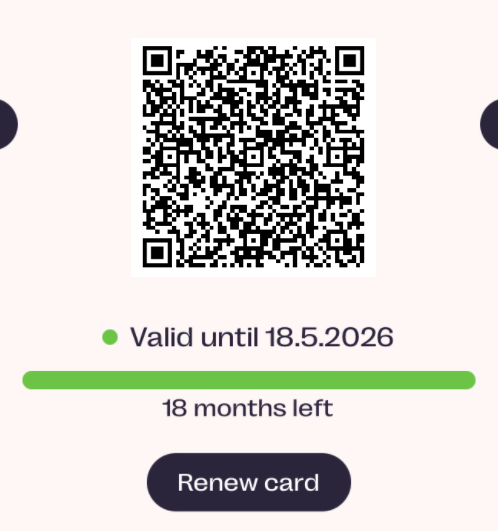
As a fun side note, the app disables screenshots, presumably to prevent people sharing the QR code with others or by using an expired museum card. But this doesn’t really do anything, since the QR code is only valid for 5 minutes and you can easily get around this restriction using e.g. screen mirroring.
The QR code, when decoded, yields a JWT! (You might need to scroll to see the whole thing.)
eyJ0eXAiOiJKV1QiLCJhbGciOiJFUzI1NiJ9.eyJzdWIiOiI8c25pcD4iLCJpc3MiOiJjb25zdW1lciIsImlhdCI6MTczMTQ5NzY5NSwiZXhwIjoxNzMxNDk3OTk1fQ.MEYCIQCk6MugtR4W4uz-2eedl0iYsyWtnfFLESs-7o55K8p3-QIhAKluhbbvpOpW8CMa1J5MJ0JPReyXbFOocSJedStLShiJA JWT has three parts: Header, payload, and signature. The header in this case is:
{
   "typ": "JWT",
   "alg": "ES256"
}
… which just tells us that this JWT is in fact a JWT, and that the signature is hashed using the elliptic curve ES256 algorithm.
The payload is the interesting part.
{
   "sub": "<snip>",
   "iss": "consumer",
   "iat": 1731497695,
   "exp": 1731497995
}
The sub key identifies the subject of the token, which in this case is my museum card number. The iss (“issuer”) key is "consumer", which I suppose represents the fact that the token is generated by your client. The iat and exp (“issued at” and “expires”) fields encode the time period within which the token is valid. These are unix timestamps, so the generated QR code is indeed only valid for 5 minutes before requiring a refresh.
And finally, the signature is the output of the ES256 algorithm using the header, payload, and secret all concatenated as input! It’s what the QR scanners at the reception check for validity.
# Conclusion
I found it neat to go through the changes made to authentication in the museum card app, both from a technical and a UX perspective. I encourage you to look into the inner workings of things you’re curious about! You might learn a lot about the system, and better understand why it’s designed the way it is.